
- HOME
- CORPORATE
- PORTFOLIO
- PRODUCTS
- SERVICES
- CLIENTS
- CONTACT US
- MORE
![]()
Fire Immuniser
+91-7829629111
Email: info@variex.in
Varistor Technologies Pvt. Ltd.
Block-1, First Floor, Ardente Office One, Hoodi Circle, ITPL Main Road, Bengaluru, Karnataka 560048, IN
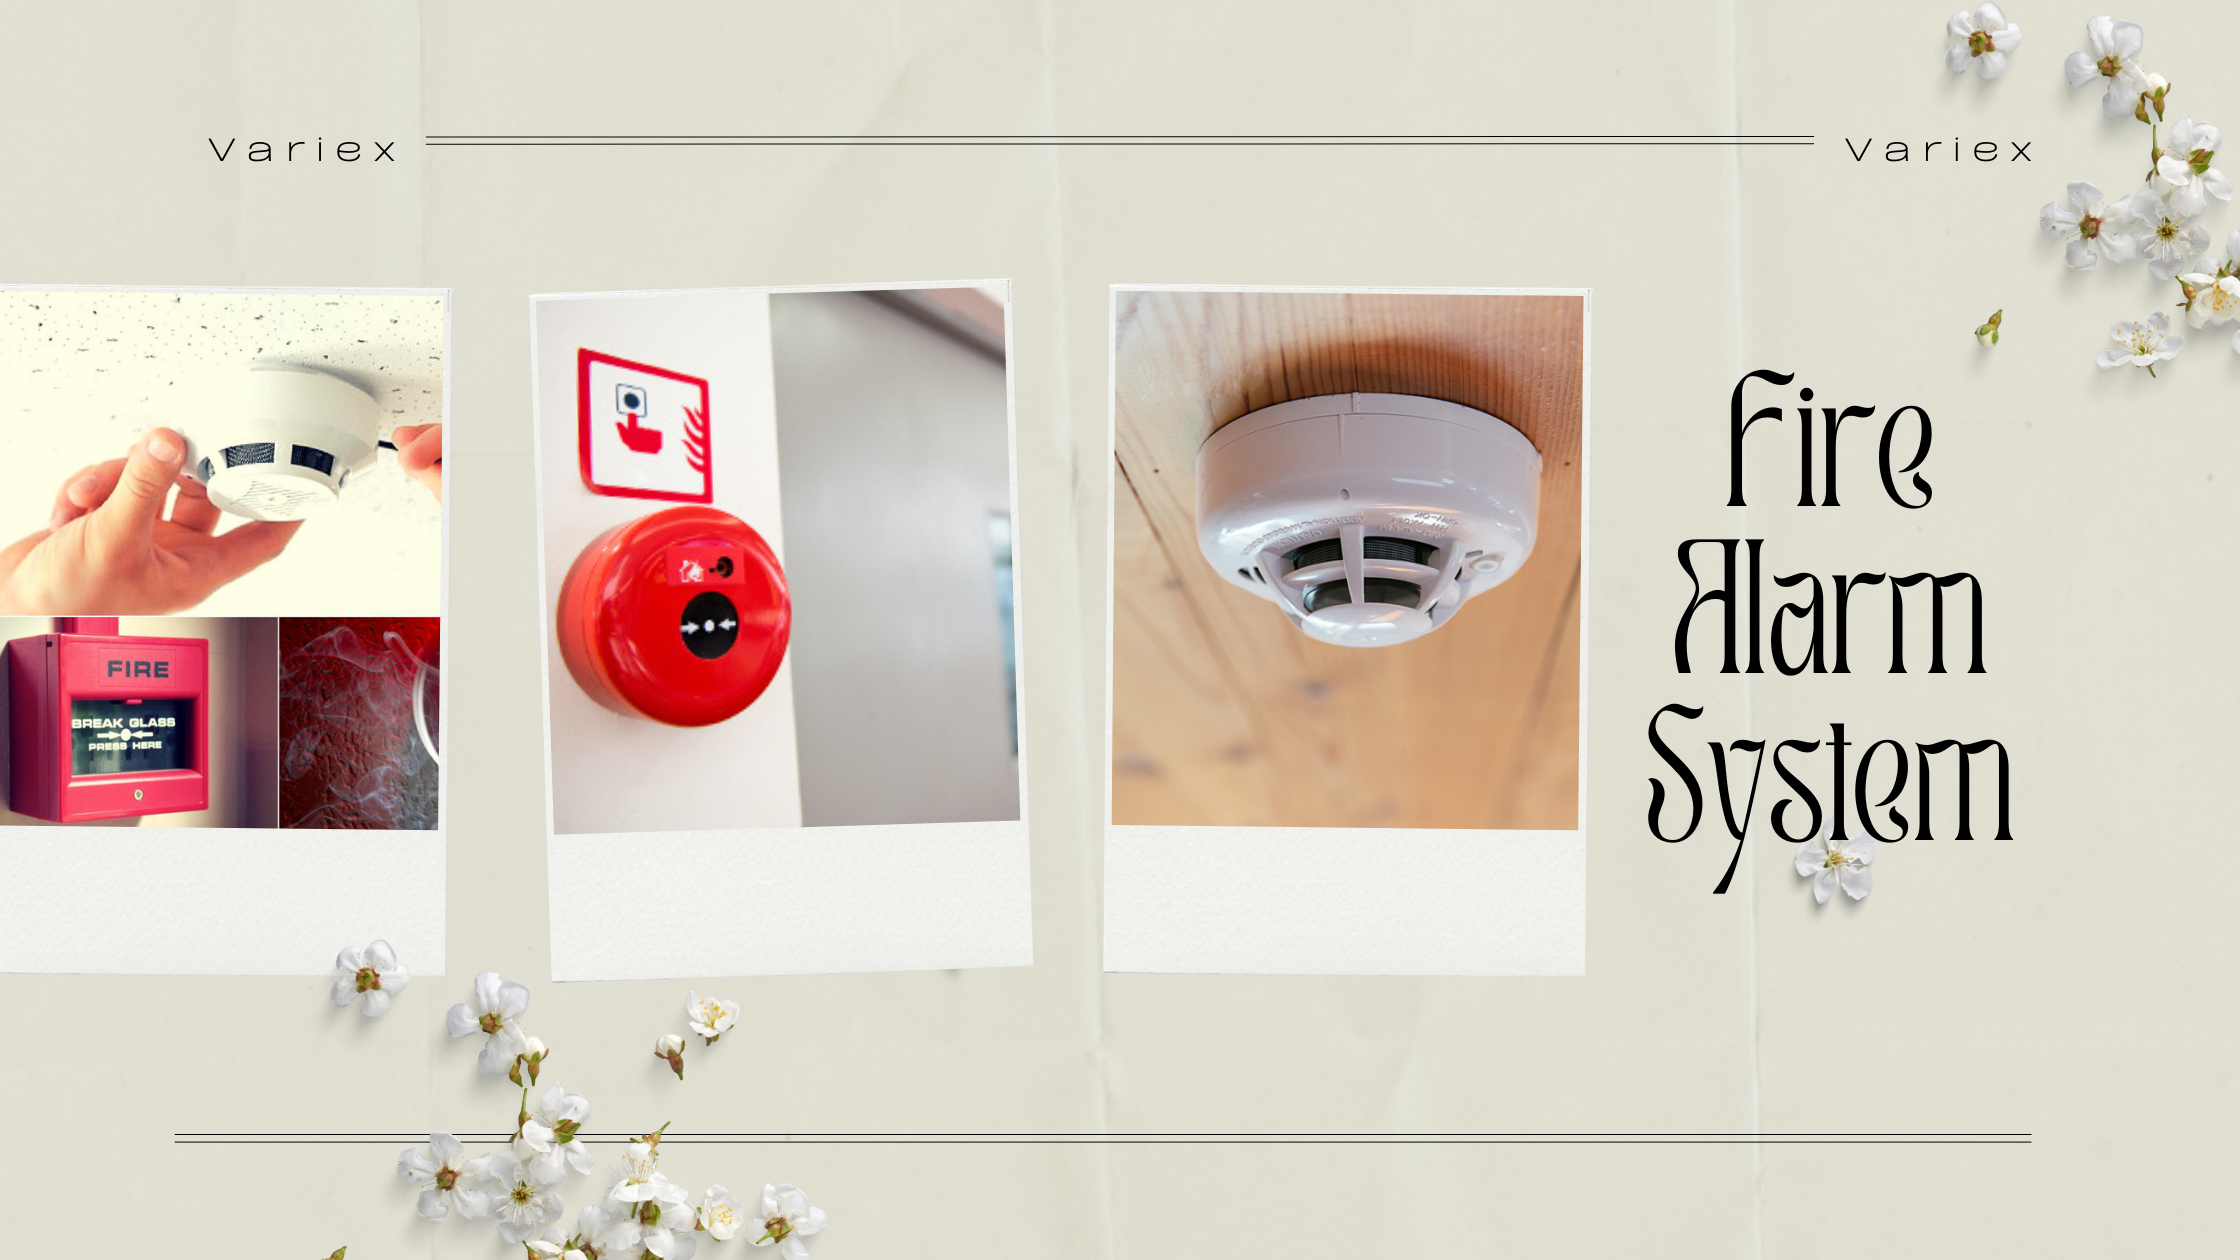
How To Make A Simple Fire Alarm System
How To Make A Simple Fire Alarm System
Fire alarms are a critical component of any residential or commercial building's safety systems. They provide an early warning system that can save lives and prevent significant property damage. Despite their importance, the cost of purchasing and installing a fire alarm can be prohibitive for many. Fortunately, you don't necessarily need to depend on sophisticated, expensive systems. With a little knowledge and some common household items, you can construct a simple fire alarm system. This article aims to guide you through the process of creating your own simple fire alarm to help protect your home.
Understanding Fire Alarms
Before you start building your fire alarm, it's important to understand the basic principles these devices operate on. Fire alarms detect either heat or smoke that may indicate a fire. The alarms that detect heat changes are known as heat detectors, while those that sense smoke are smoke detectors. Although both types of fire alarms can effectively alert about a fire, smoke detectors tend to react quicker to fires that generate a lot of smoke. For this tutorial, we will be making a heat detector type fire alarm.
Materials You Will Need
Building a simple fire alarm system doesn't require an extensive list of materials. Most of these items can be sourced from around your home or purchased at a local electronics store. Here's what you'll need:
- An IC (Integrated Circuit) timer chip, preferably a NE555 model
- A 10k ohm resistor and a 470 ohm resistor
- Two ceramic capacitors of 0.01uF and 0.1uF values
- Two electrolytic capacitors of 10uF and 100uF values
- Thermistor (heat sensor), preferably a NTC type
- A general-purpose NPN transistor, preferably a BC548 model
- Loudspeaker (8 ohms impedance)
- A breadboard and a few jumper wires
- A 9-volt battery
Creating the Circuit
The first step to building your fire alarm system is to create the circuit. Connect the IC timer chip to the breadboard. The 8-pin IC timer chip should be connected in such a way that the pin1 is connected to the ground and pin8 is connected to the positive power supply. Connect the second pin to the junction of the thermistor and the 10k ohm resistor. This will serve as your temperature sensor circuit, with the resistance of the thermistor decreasing as the heat increases.
Setting Up the Buzzer
The next step is to set up the buzzer that will sound the alarm when a fire is detected. Connect the NPN transistor to the pin3 of the IC timer chip. Connect the emitter of the transistor to the negative power supply. The base of the transistor is connected with the pin3 through the 470-ohm resistor to control the flow of current. The buzzer or loudspeaker is then connected to the collector of the transistor. Proper transistor biasing ensures that it will work as an amplifier to the feeble signal provided by the IC timer chip when the thermistor senses heat.
Finalizing the Circuit
Now, connect each capacitor to the appropriate place in the circuit. The 0.01uF is connected between pin5 and the ground, and the 0.1uF is connected between pin2 and pin6. An additional connection is made between pin2 and pin6, and these second and sixth pins are connected to the ground through the 10uf capacitor. Finally, the 100uF capacitor is connected between the collector of the transistor and pin4 of the IC. This capacitor ensures that the buzzer will alarm for a decent amount of time even after the thermistor cools.
Powering the Fire Alarm
The final step is to connect the circuit to a power supply. Connect a 9-volt battery to your circuit, with the positive end connected to the chip's pin8 and the negative (ground) end to the chip's pin1. Now, your fire alarm system is ready. As the temperature increases, the resistance of the thermistor decreases, triggering the IC timer, which in turn activates the transistor. The activated transistor then powers the loudspeaker, sounding an alarm.
Testing and Refining the System
Once you've completed the circuit, it's imperative to test it for functionality. This will involve heating the thermistor in a controlled environment and checking if the system operates as designed. You also need to refine your system based on the testing. This could include adjusting the sensitivity of the thermistor or the loudness of the alarm.
Conclusion
Creating your own simple fire alarm system can feel like a daunting task. However, with the right materials and this step-by-step guide, it's an achievable DIY project. Remember, though, that a homemade fire alarm should not replace professionally installed detection systems in high-risk areas or large buildings. It's more appropriate for personal use or at home where the potential risk is relatively low. Nonetheless, having built your fire alarm system, you will not only have gained knowledge but you are also taking a step towards ensuring personal safety. Stay cautious, stay safe!
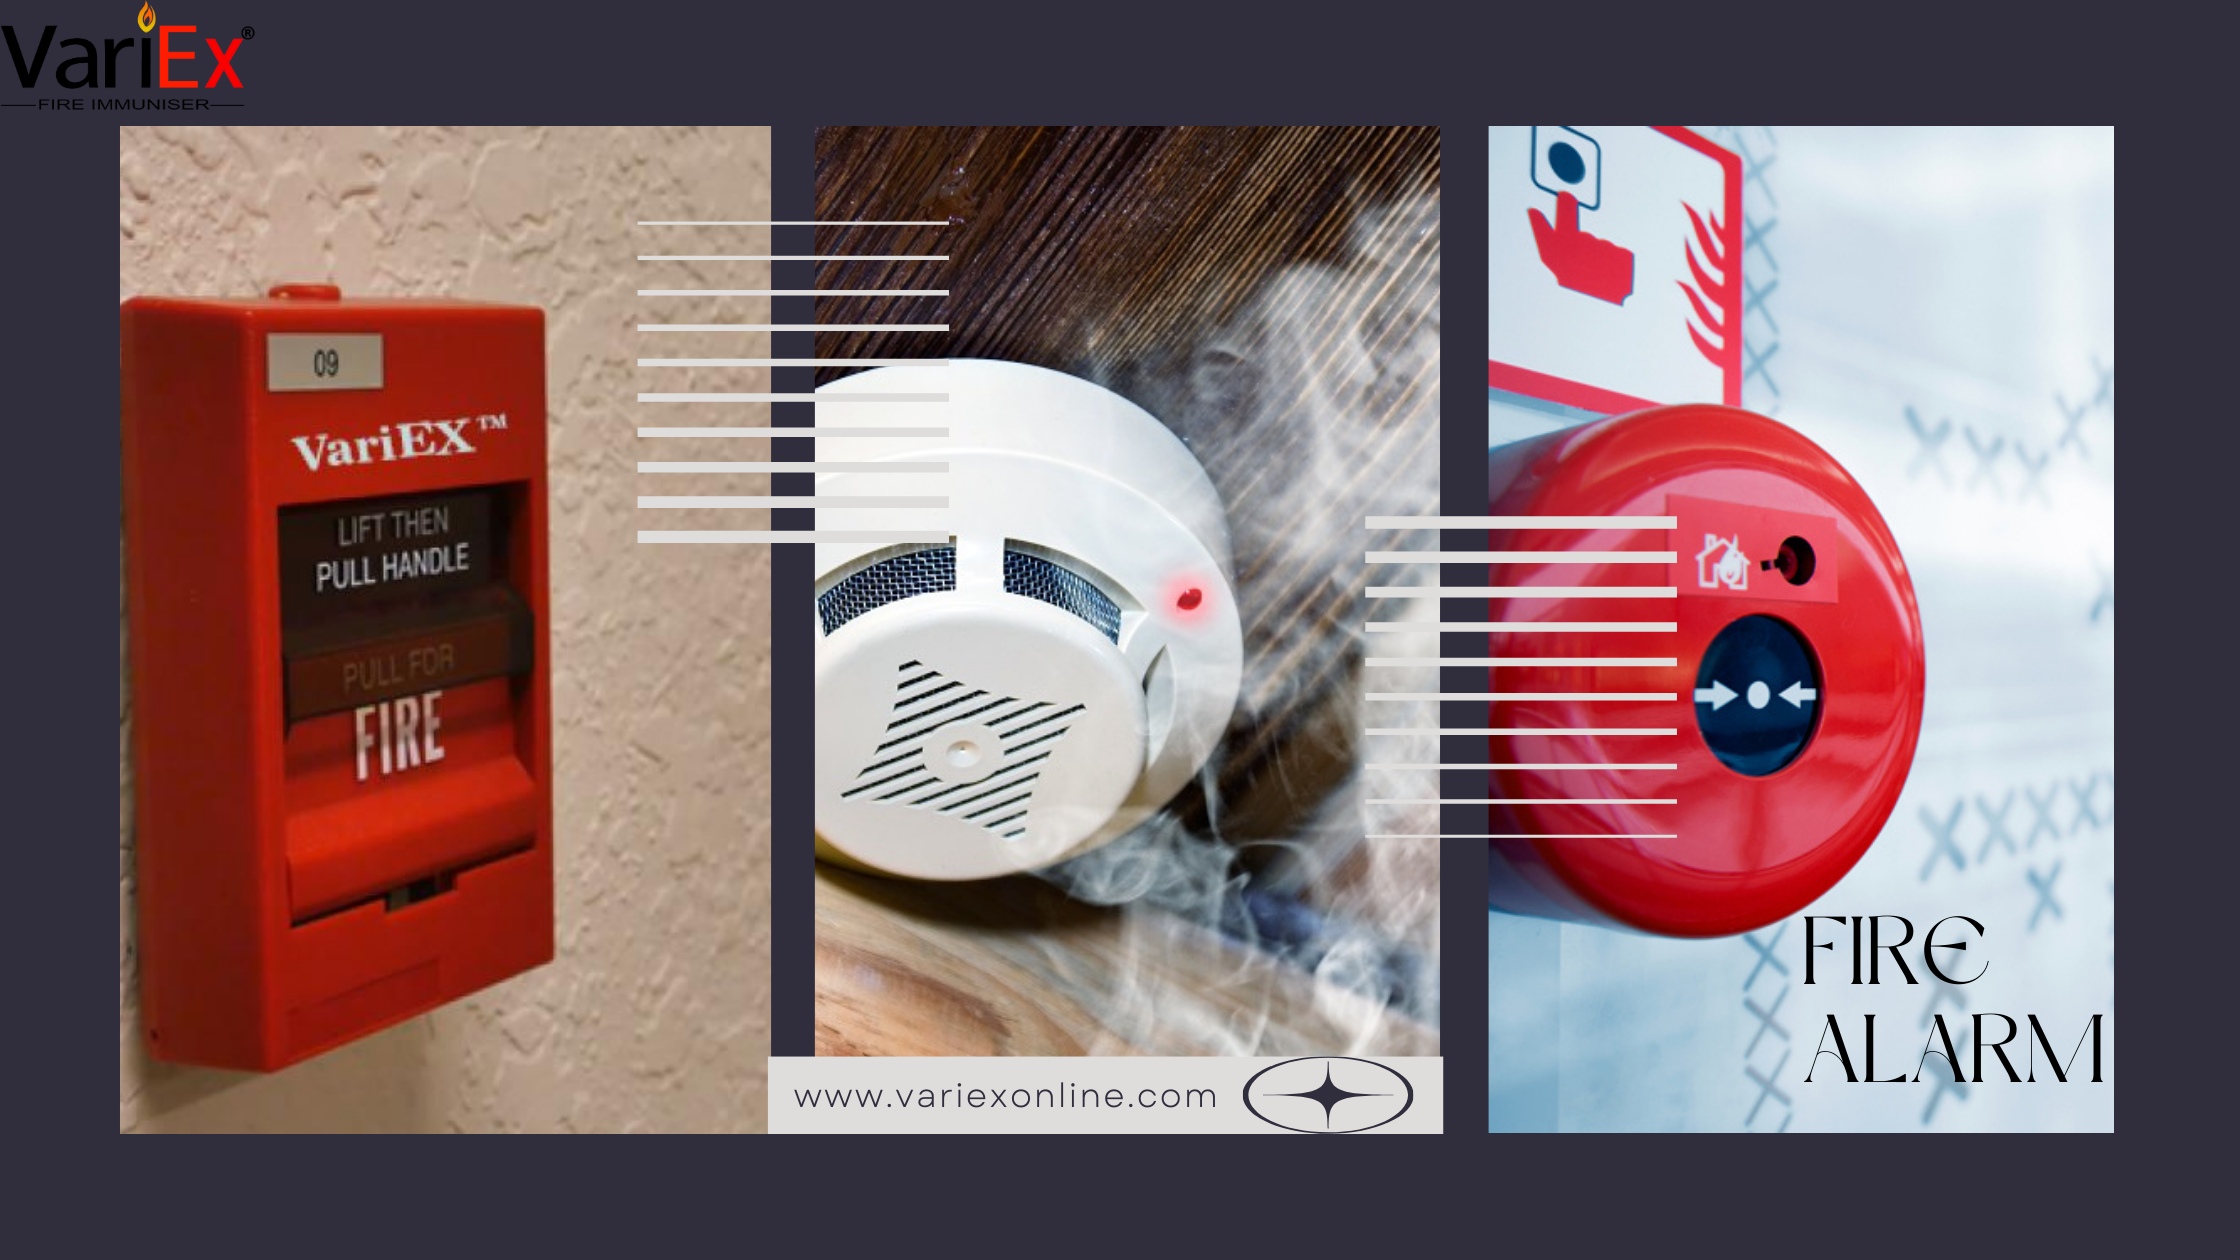


Final Say
At VariEx.in and VariexOnline.com, we specialize in supplying and installing top-quality fire fighting systems and equipment. From fire extinguishers to advanced suppression systems, we offer comprehensive solutions tailored to your needs. Our experienced team ensures precise installation and maintenance for optimal safety.
Trust VariEx for reliable fire protection. Contact us online or call 7829629111 to learn more.
"WHAT YOU CAN READ NEXT"
 Read more +24 November 2023 in Fire Extinguisher
What types of fire extinguishers are available for different fire classes?
 Read more +02 May 2026 in Fire Extinguisher
Class B Fire Extinguisher Uses, Types, Price & Buying Guide
 Read more +30 April 2026 in ABC Fire Extinguisher, AMC Services, CO2 Fire Extinguisher, Fire Extinguisher, Fire Fighting System, FIre Hydrant, Fire Safety Equipment, Fire Safety Equipment
")